Original Arduino code
Download the original sketch and copy it into the Arduino IDE. It uses the Wire, Keypad, and LiquidCrystal_I2C libraries. Make sure the required keypad and LCD libraries are installed before compiling.
Download Arduino code ↓Arduino · 3D printing · Everyday tools
I designed this desktop unit converter to sit beside my computer while I work in CAD. Switch between length and weight conversions with a button, enter a value, and get the answer on the LCD.
Get the free build filesSee how it works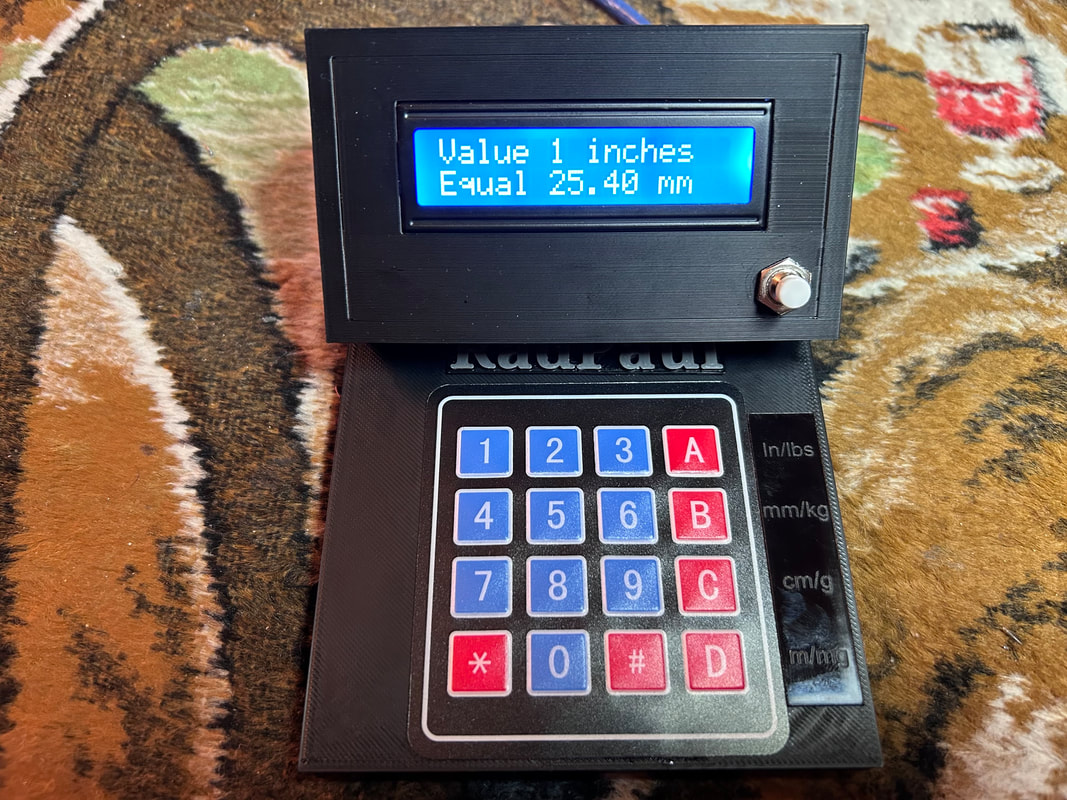
An Arduino Nano, a 4 × 4 keypad, an LCD, and a printed enclosure make a dedicated conversion tool. The original Arduino code and enclosure design are available free.
Simple controls
Use the mode button to select length or weight. The A–D keys select the starting and destination units.
Press # to clear the input and start again. After one minute without activity, the display backlight turns off and the input resets. A key press wakes the backlight.
Example in length mode: enter 1, press A for inches, then B for millimeters. Choose different source and destination units.
| Key | Length mode | Weight mode |
|---|---|---|
| A | Inches (in) | Pounds (lb) |
| B | Millimeters (mm) | Kilograms (kg) |
| C | Centimeters (cm) | Grams (g) |
| D | Meters (m) | Milligrams (mg) |
Make your own
Download the original sketch and copy it into the Arduino IDE. It uses the Wire, Keypad, and LiquidCrystal_I2C libraries. Make sure the required keypad and LCD libraries are installed before compiling.
Download Arduino code ↓Open the original Unit Conversion Keypad for Arduino Nano project in Tinkercad to access the enclosure design and print-file options.
Open the 3D-print design ↗The code download is the original project file, preserved unchanged.
Build resources
These are the original component links from my build.
Amazon links may be affiliate links. Purchases through them may earn a commission.
The original project links to DIYables for connecting the 4 × 4 keypad to an Arduino.
View the keypad guide ↗In the supplied sketch: keypad rows use pins 9, 8, 7, and 6; columns use pins 5, 4, 3, and 2. The mode button uses pin 10. The LCD is configured as a 16 × 2 I²C display at address 0x27.
Watch the original video from the unit converter project.
Watch on YouTube ↗Let's talk projects
Get in touch with RadPaul.